It has been a long time again since I’ve posted. Two reasons. One, through the generosity of a visitor, I’ve been digesting some much more detailed information about the original DIY version of the RSTL. When I get done with the translations and cleanup, I’ll post more about what I’ve learned here.
Today though I’ll tell you about a(nother) project that took WAY longer than it should have – creating the countersink template for the woofers. Oh why oh why can’t they be nice and round like most of the other drivers I’ve worked with over the years? Even the line array of ribbons I used in my last speaker were nothing compared to this guy.
I used “Easy Driver Flush-Mounting” in the June 2001 audioXpress as my guide. Suffice it to say Mr. Buike was facing far fewer issues with the Focal woofer in his example than I did with the Tang Band’s irregular shape. The basic idea is to use a flush-trimming bit with a bottom-mounted guide to create a template 1/2″ larger than the driver:

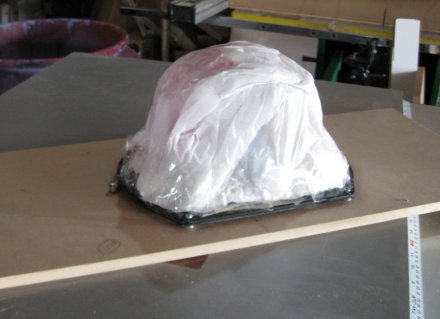
Using router table, trim bit and driver to make 1/2 inch “oversize” template
Note the taped-on plastic bag to keep dust out of the driver. Also note the trim bit protruding just to the left of the driver, so it can use the edge of the driver as a guide. I’m going to skip a WHOLE BUNCH of stuff that turned out to be hard here and jump to the next good part. When it is all done, you’re left with a template that is the right shape except it is 1/2″ bigger than the driver on all sides (the width of the trim bit):

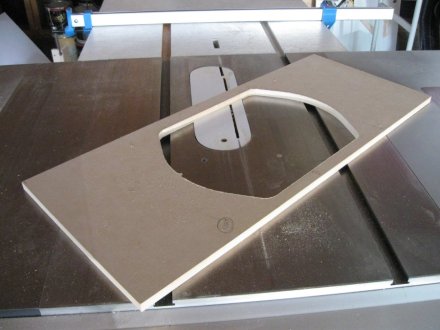
Completed first “oversize” template
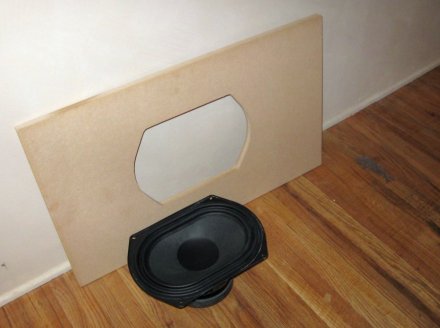
Finally, cut this template down by 3/8″ per side to leave a nice 1/8″ border around the driver:

Completed template, with driver for comparison
Notice I left a large border all the way around the cutout, both to leave room to clamp the template and to support the router. A lesson learned (over and over) the hard way.
35.091074
-106.566226


